
Akuri – Parsi style scrambled eggs is a dish that I fall back on for a quick, delicious breakfast. Soft, juicy eggs bursting with flavor in every bite. This is THE egg breakfast you want. Everyday. One of the reasons I keep easy egg recipes in my repertoire is because of the fact that eggs are quick to cook. Also, I like them. A lot. Need proof ? Check out these other quick and delicious eggs recipes : Dim Posto ; Egg Curry ; Minty Egg Curry ; Spicy Skillet Eggs ; Egg Bhurji. Eggs are versatile and people mostly …
Paleo Bacon Kale and Egg Waffle Sandwich

In Partnership with – Sprouts Farmers Market. Please read my disclosure statement here . All views on the products mentioned are my own. I have been very fortunate to have a blogging partnership with Sprouts Farmers Market because through this partnership I have met a lot of companies that are local and healthy eating friendly. One such company we got to tour recently was Birch Benders . The latest product from Birch Benders – Toaster Waffles is my absolute favorite to make a quick breakfast with. I especially love the Paleo Toaster waffles because that’s the one I can eat. 2 to …
Spicy Skillet Eggs – Simply Vegetarian Cookbook

Book Review :- Simply Vegetarian Cookbook *Disclosure: I received a complimentary copy of the Simply Vegetarian Cookbook from the author, Susan Pridmore for the purpose of reviewing it. Opinions are my own. Recipe published here with the author’s approval. What the Simply Vegetarian Cookbook Promises, the Simply Vegetarian cookbook delivers. The fact that Susan is a classically trained chef shines through the book with flavor combinations, Easy to find ingredients and room for adapting the recipes to any lifestyle. The recipes are from various cuisines, so the meals never get boring. If there is an Easy miso ramen for a …
Tiger Nuts and Fig Smoothie

In Partnership with – Sprouts Farmers Market. Please read my disclosure statement here . All views on the products mentioned are my own. Healthy food! What does it mean to you ? For me it is “food closest to it’s natural form”, without much processing. I am always on the lookout for products that are minimally processed and easily available to supplement my snack box or a quick breakfast. Thankfully, Colorado has a lot to offer in terms of local companies who have the same healthy values as I do. I was really thrilled when I was invited by Sprouts to …
Spiced Pumpkin Butter Granola
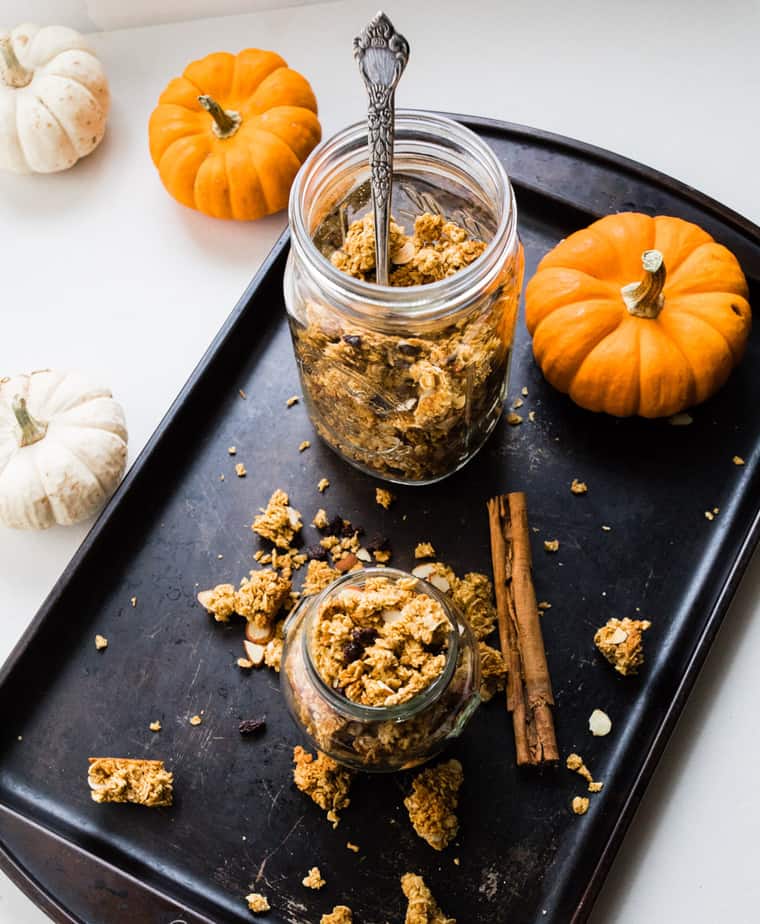
In Partnership with – Sprouts Farmers Market. A few weeks ago, Sprouts Farmers Market coordinated a trip for a few Colorado Bloggers to visit Bobo’s. My Colorado blogging friend Karissa recently posted about the entire tour and you can read all about it on her blog here. To say that the tour was inspiring would be an understatement. Touring Bobo’s also included a hands on “playtime” to create our own Bobo bars and I must say it was a real treat. Not only did the team at Bobo’s bake our individual bars for us, they even shipped them to us. If …
Masala Omelette from “The Hundred Foot Journey”

Masala Omelette from “The Hundred Foot Journey” or India’s standard masala omelette? Eggs whisked to a uniform consistency so the yolks and whites are in harmony, infused with spices, seasoned with salt and cooked in a big dollop of ghee. No, Not clarified butter. Ghee. There is a difference. The scene where Hasan makes an omelette for Madame Malroy is somewhat cliched. However, it brings up an important point of stereotyping food. Not just Indian food, but any food. The need to focus on “traditional” “authentic” etc recipes overshadows the need to focus on technique. And that’s why I chose …